Need to add pagination in Elementor ?
You can use Elementor to create almost all kinds of websites. Including dynamic websites like online magazines or blogs. For websites such as online magazines or blogs, one of the crucial enough elements is navigation.
See also: How to install Elementor on WordPress
Pagination allows you to divide the content of your Website in several pages. Let's say you have hundreds of articles that you want to display on the homepage. With pagination, you can divide these articles into multiple pages. You can, for example, display only 10 articles per page. To display other articles, you can use pagination.
The discussion of pagination could be broader than what we mentioned above. But we want to focus on this context.
Read also: How to add a table of contents in Elementor
Elementor allows you to add pagination to your Website. You can find the pagination setting when working with the widget Posts and the widget Archive Posts. In this article, we'll show you how to add pagination when working with these widgets.
Please note: The Posts and Archive Posts widgets is only available on Elementor Pro.
How to add pagination in Elementor with Posts and Archive Posts widgets
To get started, you can create a new page / post and edit it with Elementor. You can also edit an existing page.
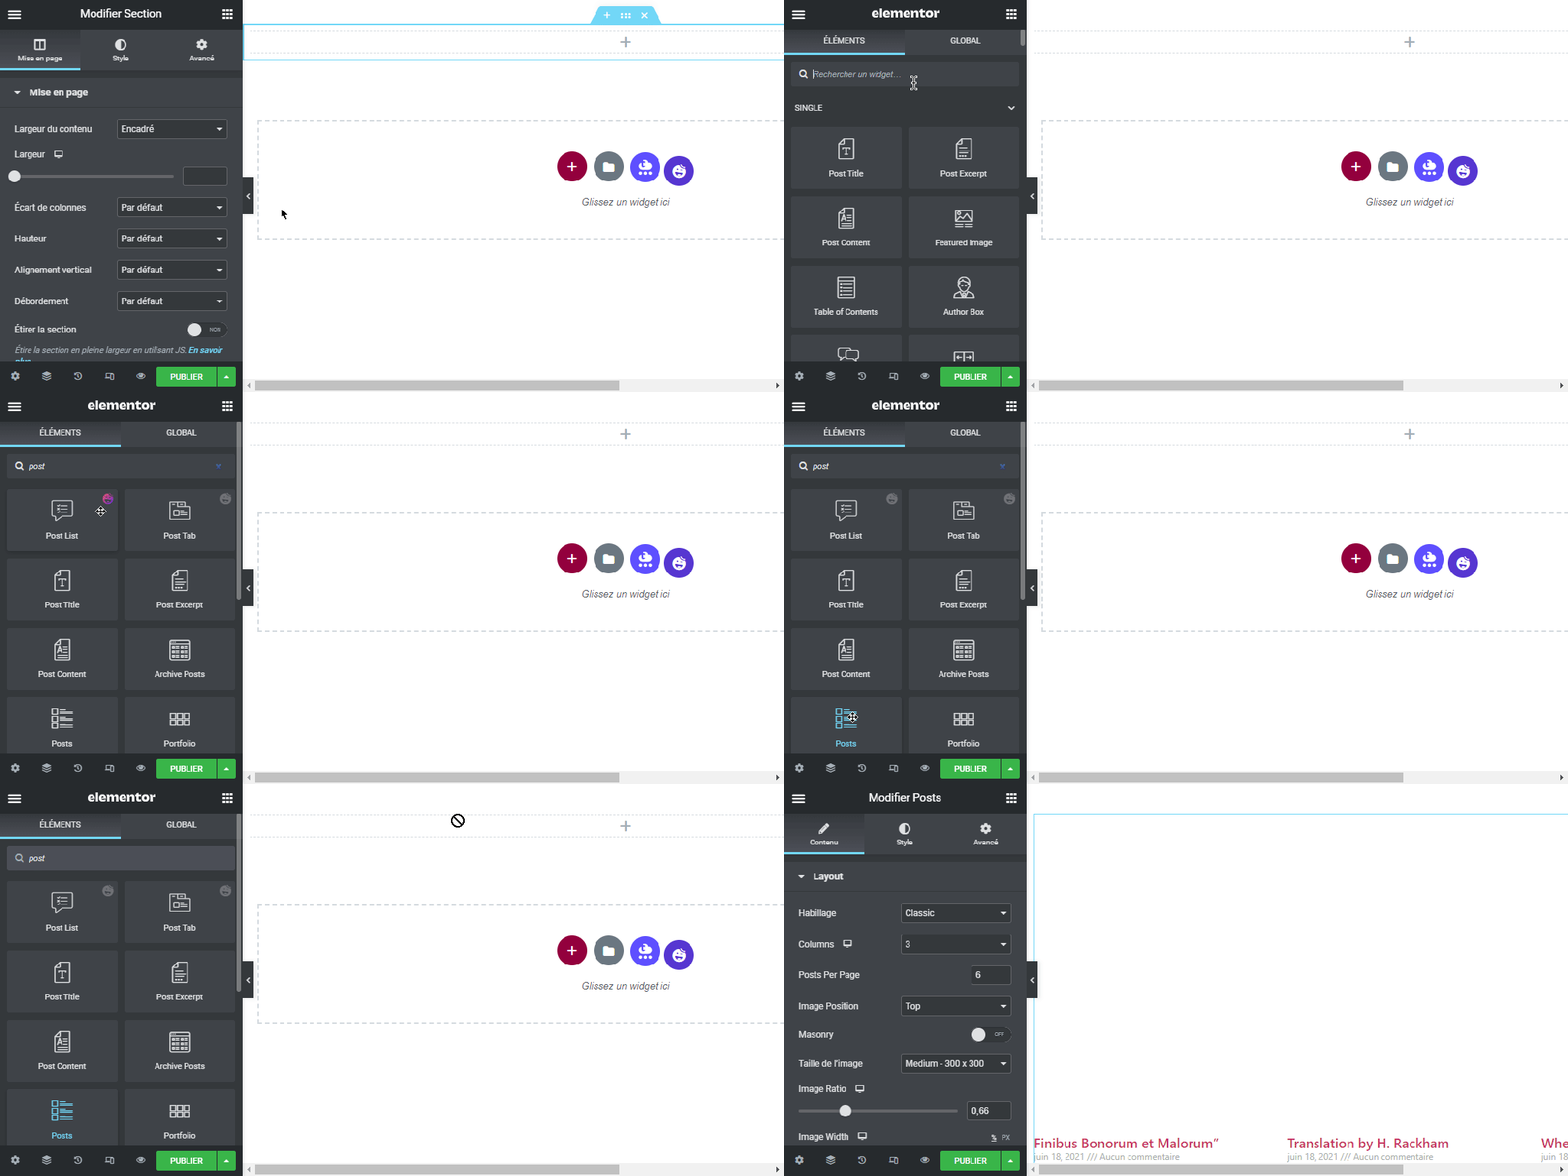
Then, in the Elementor editor, add the widget Posts by dragging it from the left panel to the edit box.

Once the widget is added, go to the left panel and open the option Pagination under the tab Contents. Select the type of pagination from the drop-down menu. In this example, we use Numbers.

By default, your pagination limits pages to 5. You can change this option depending on the number of articles you have. There is one crucial thing you should note here. The page limit is the maximum number of pages your visitor can access.
See also: How to add reCAPTCHA to your Elementor form
If you have a large number of articles (say more than 100), you should set the page limit to a higher number to allow your visiteurs to see articles by page in the navigation. If you set the page limit to 5 even though you set the posts per page to 10, your visitor will only be able to see the last 50 posts of your Website.
WordPress (or Elementor more precisely) will hide older posts other than the last 50 posts.

In order to make your pagination short and neat, you can activate the option Shorten.

Customizing pagination
To customize your pagination, you can open the option Pagination under the Style tab of the left panel.

You can set the font style, font size and font family in the section Typography. Click the pencil icon to open the typography setting.

To set the color of the pagination, you can click on the color picker in the section colors. There are 3 colors you can set: NORMAL, HOVER and ACTIVE (the active page). You can define the space between the pagination numbers in the section Space Between.

Once you are done, you can click on the button PUBLISH to publish your page. Or, if you are editing a page, you can click the button UPDATE to apply the new changes.

Last words
Pagination is crucial enough on dynamic websites such as ezines or blogs. In Elementor you can use widgets Posts to view articles from your website. You can also use the widget Archive Posts to view your website archives.
Read also: How to create a file upload form in Elementor
These widgets have pagination settings options, which allow you to add navigation to any part of your website where you use them.
Get Elementor Pro Now!
Conclusion
Here is ! That's it for this article which shows you how to add pagination in Elementor. If you have any concerns on how to get there flet us know in the Comments.
However, you can also consult our resources, if you need more elements to carry out your projects of creation of Internet sites, by consulting our guide on the WordPress blog creation or the one on Divi: the best WordPress theme of all time.
But meanwhile, share this article on your different social networks.
...


